Encryption
One of the most important aspects of using technology within the modern world is to ensure that all the data within these devices are secure. With windows based devices this is easy and simple, and it will greatly increase your overall security if your device is ever lost or stolen.
Prerequisites
-
Windows based computer.
-
Windows Pro or education*
-
*If your manufacturer supports it BitLocker my be available on home editions of windows.
-
Steps.
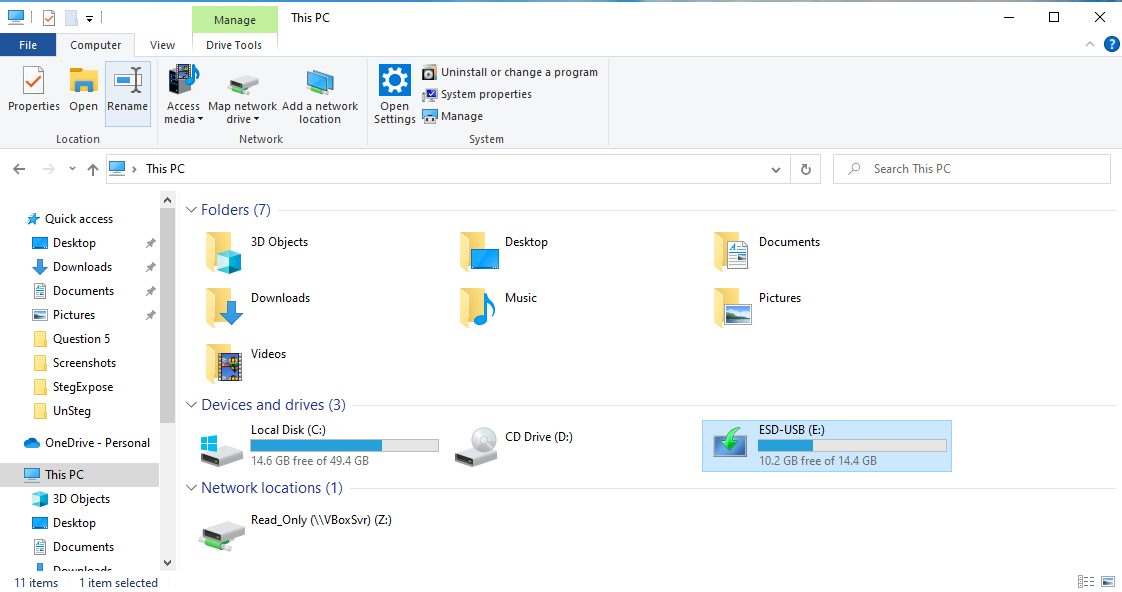
Step One:
Open File Explorer and find the device you would like to encrypt, this can be any form of storage device both externally or internally.
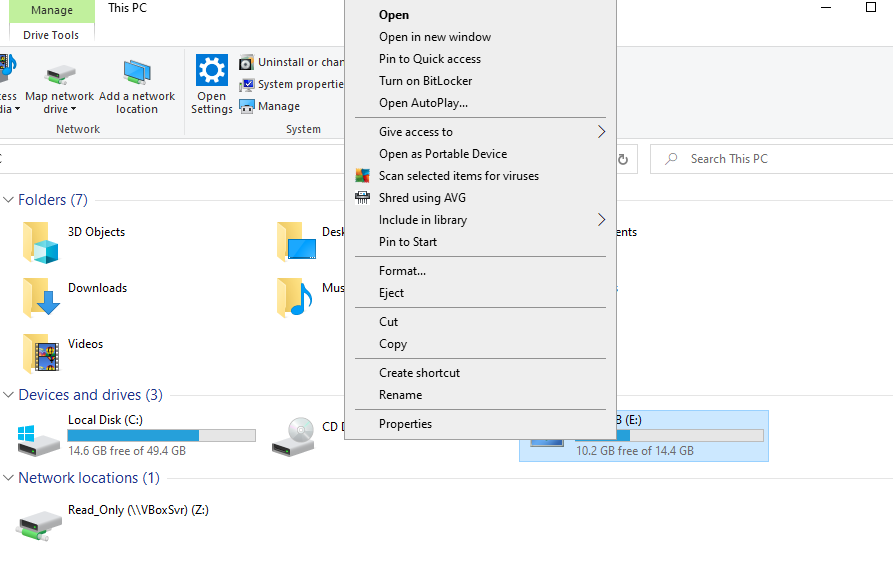
Step Two:
Right click the device and then select more options (if using Windows 11) if not this doesn’t apply and press Turn On BitLocker
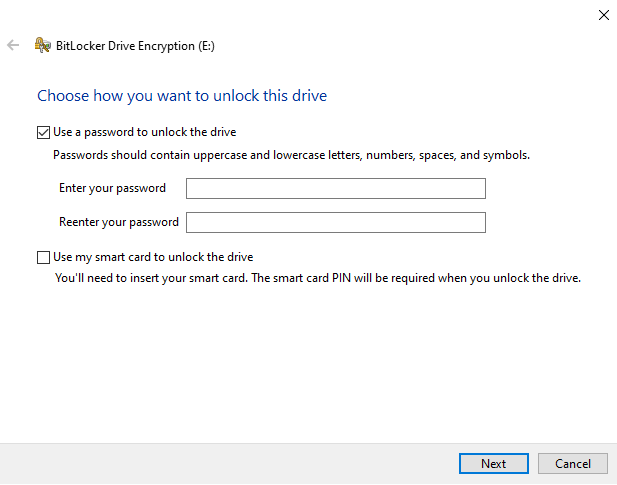
Step Three:
Select the way in which you would like the data to be secured, the most easy way is to use a password, or if it is an internal device use the TPM on the device.
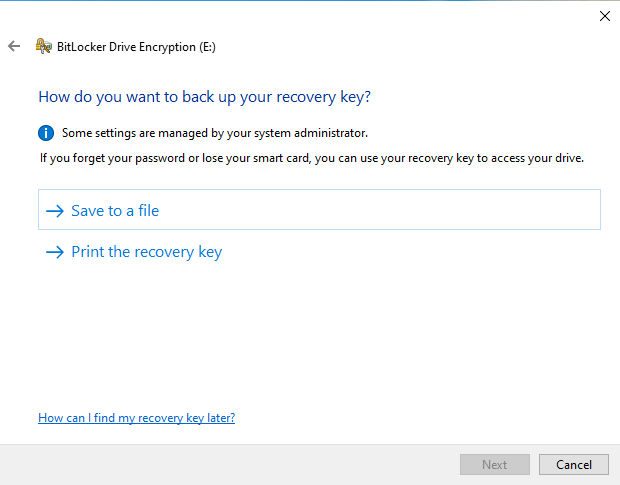
Step Four:
Make sure that your recovery key is saved in a safe place, and not given out to anyone as this will allow full access to the disk if the password is forgotten.
Step Five:
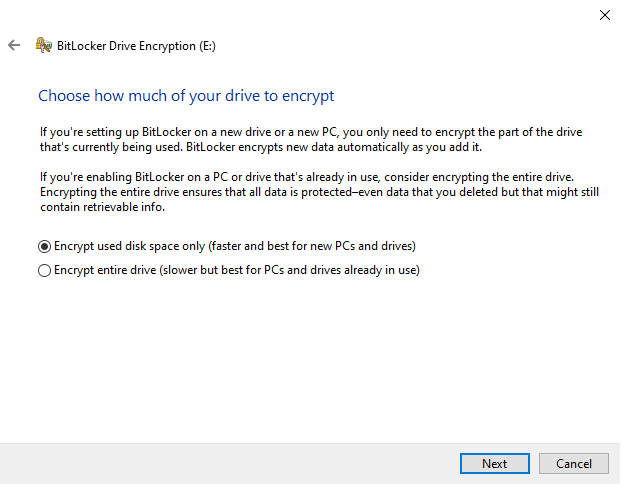
Select the settings you wish for your given device, however for most use cases I would recommend the following settings.
If the device is portable e.g. USB Device
-
If the device is new and doesn’t have any data
-
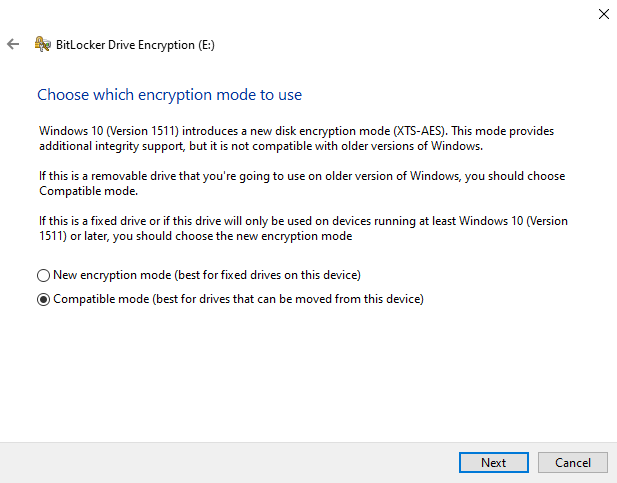
Encrypt used Disk space only with Compatible Mode
-
-
If the device is old and contains data
-
Encrypt entire Drive with Compatible Mode
-
Alternatively if the device is static e.g. Internal Hard Drive
-
If the device is new and doesn’t have any data
-
Encrypt used Disk space only with New Encryption Mode
-
-
If the device is old and contains data
-
Encrypt entire Drive with New Encryption Mode
-
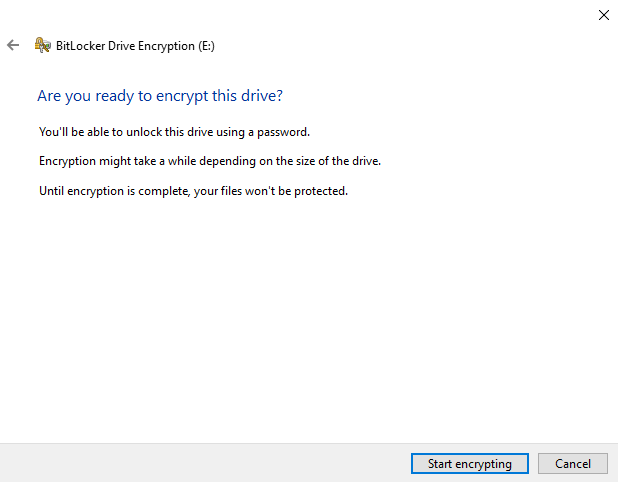
Step Six:
Once that is all done then press “Start Encrypting” and windows will in the background encrypt the given device
That’s it you’re all sorted!
Make sure that recovery key stays safe, from here once the drive is encrypted you will have to use the set up way to unlock the device and access any data within it.
Be sure to check out our other Tutorial posts for more information:
Leave a Reply